A useful crack record can be found again. Give the crack and each measured position an identity, connect overview and detail photographs, and keep readings with their method and date.
Use this sequence to record an instructed inspection or monitoring scheme. The construction guide explains the difference between a crack, distortion and evidence of change; the monitoring specification sets the method and response criteria.
Prepare a useful visit
State the question: condition description, cause investigation, appraisal of change, repair planning or review of an existing scheme. Confirm scope and access. Retrieve earlier surveys, drawings and repair/monitoring records relevant to that question. Mark accounts as reported and dates as verified, approximate or unknown.
Bring the required instruments for the agreed method. Check the exact manual, asset identity, condition and applicable calibration or function records. A phone photograph and a reference scale may help locate an observation; they are not automatically a calibrated measurement system.
Establish the locations
Use a plan or elevation with orientation. Give every crack an ID and every measured position its own suffix, such as C01-A. Give level points separate IDs, such as L01. A building corner is not specific enough to relocate a measurement.
Photograph the overview, the crack route and each measurement point with its identifying detail. Record substrate or finish, width and method, offset/direction, route, extent, repair material and associated distortion. Describe access gaps and any uncertainty about continuity through concealed construction.
Build a photograph set you can revisit
Keep the three views connected by the same observation ID. Take them from safe, authorised positions and preserve the original files. Use the measurement method specified for the inspection or monitoring task.
- Overview — where in the building?
Show the elevation or room, orientation and a recognisable opening or junction. Mark the observation on the plan. A close-up without this context is difficult to relocate.
- Route — where does it run?
Show the accessible length, branches and relationship to joints, units, openings and repairs. If one image cannot contain it, link overlapping views and identify any unobserved gaps.
- Point — exactly what was recorded?
Identify the measured position and method. Where a scale is used, make its units legible and record its placement relative to the surface; avoid an oblique view that obscures the edges. Retain the actual reading and method record separately.
A reference scale in a photograph is not automatically a crack-width result. Perspective, focus, surface roughness, scale placement and the definition of the edges can affect interpretation. Do not estimate millimetres from an assumed brick size. For the general principle that a measurement's quality depends on more than its displayed increment, see NPL GPG11, sections 2 and 4.
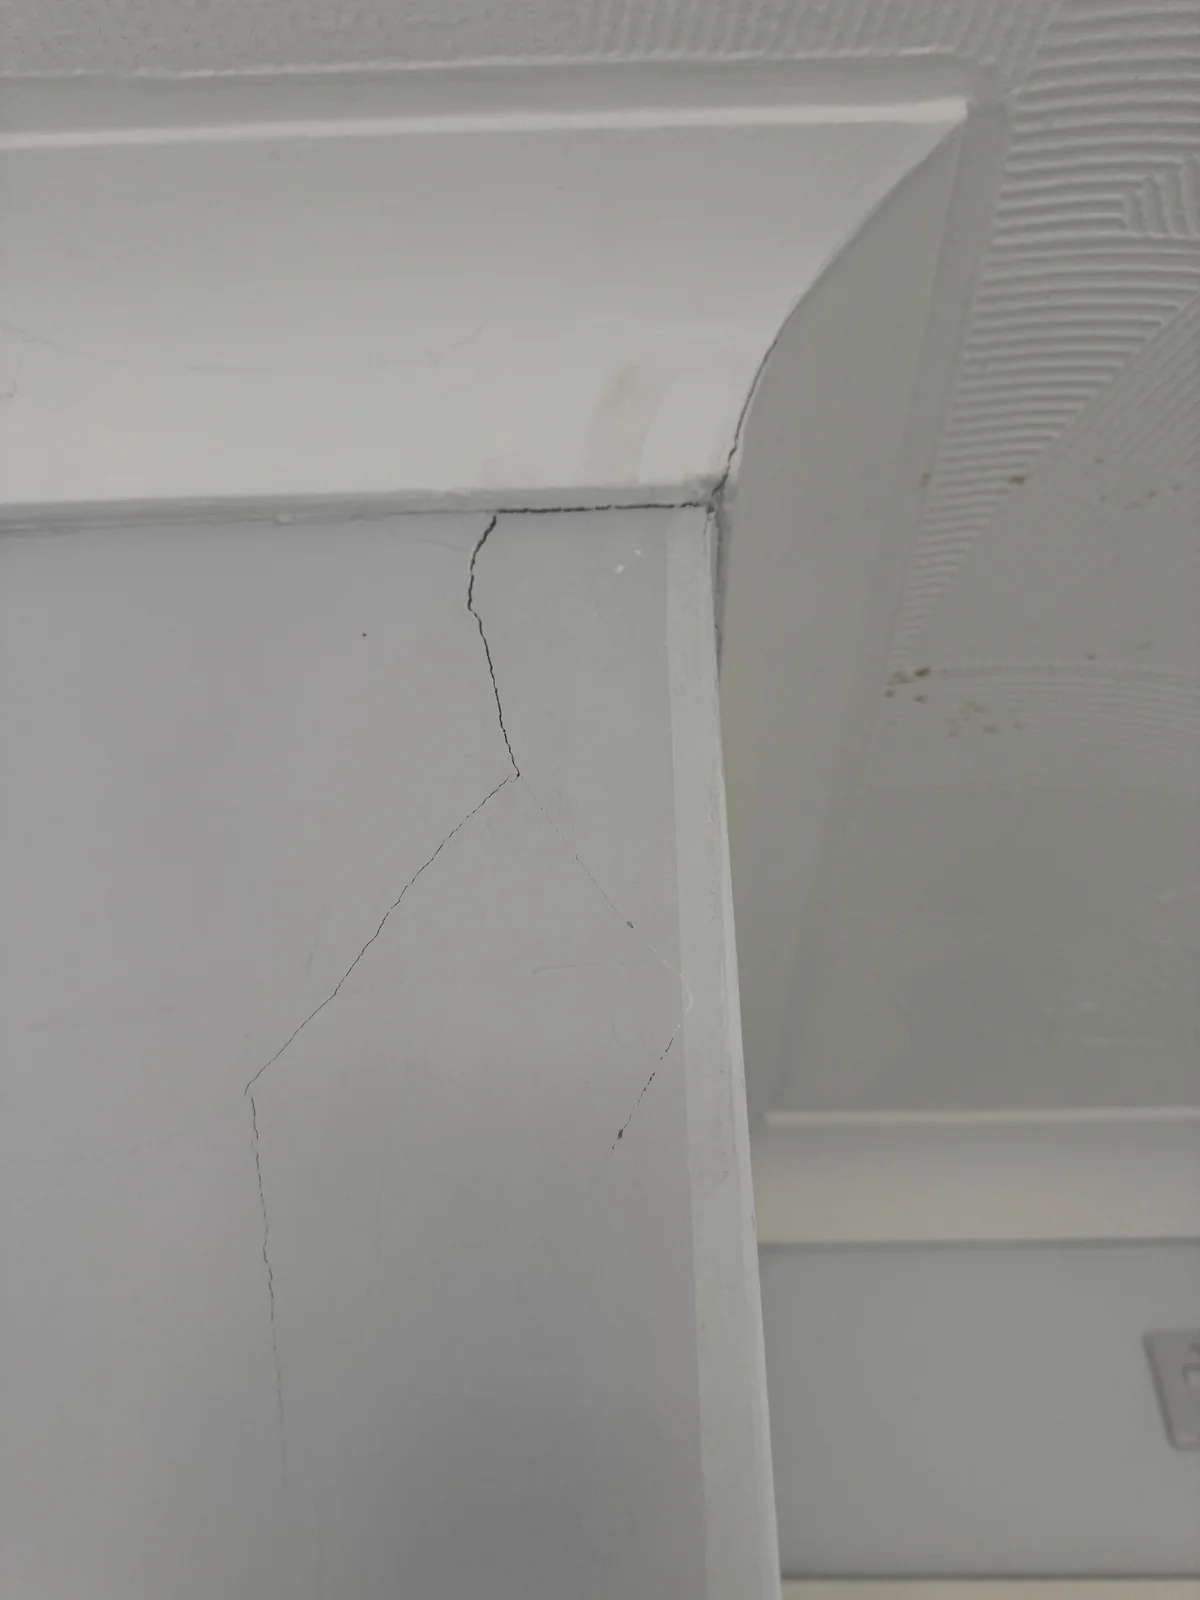
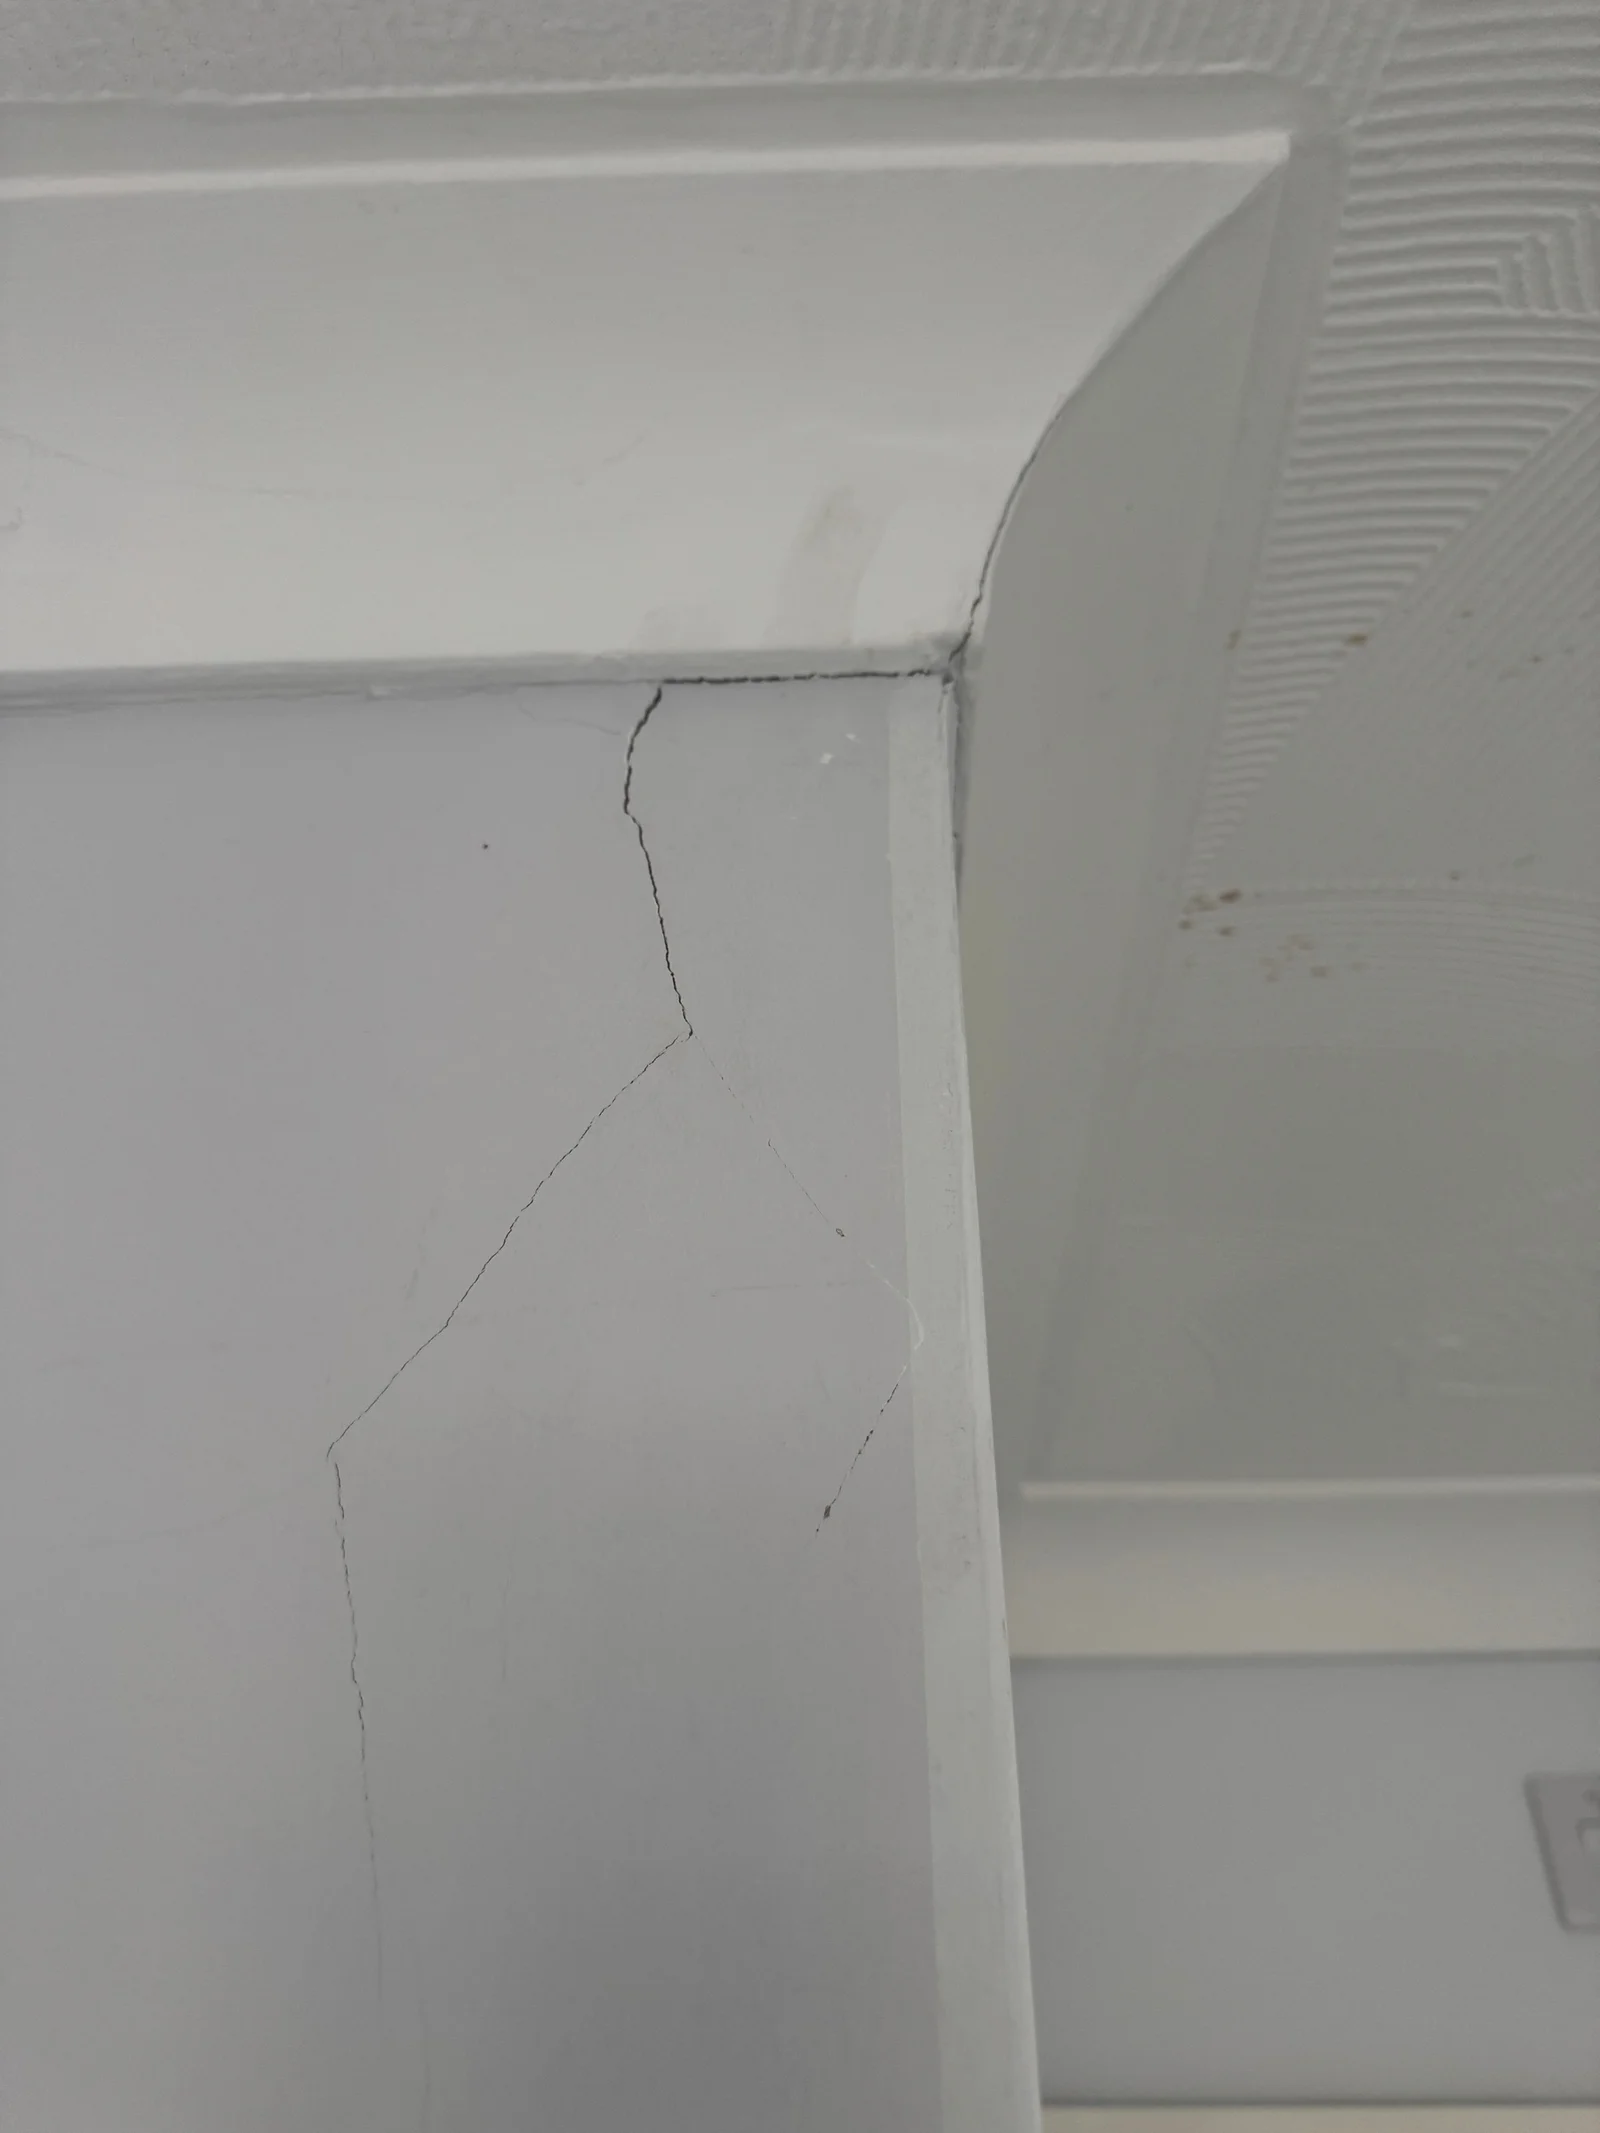
The crack can be located against the wall edge and coving junction. Add an overview and a suitable scale on the actual visit. This photograph records a pattern, not a crack width or evidence that movement is continuing.
Survey archive photograph · View larger image
Practise with a British reference photograph
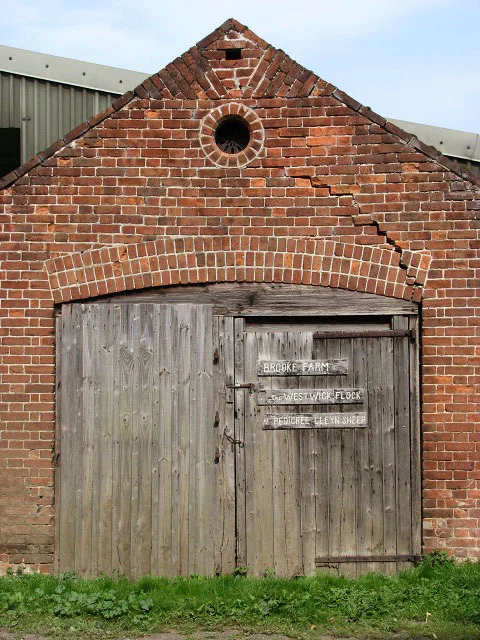
Photo credit and source
A substantial crack in the wall by Evelyn Simak, via Geograph and Wikimedia Commons. CC BY-SA 2.0. Display copy converted to WebP; same licence. View larger image.

Before opening the notes, describe the visible route and name two records needed to assess change over time.
Compare your observation and next step
Observation: a stepped crack crosses brickwork above the opening and extends towards the right-hand side of the arch. The photograph gives its wider setting but no measurement scale or comparable later view.
Next records: locate reproducible measurement points and obtain dated comparable observations using an appropriate method. Assess the surrounding construction and support when investigating cause. This single 2008 view does not establish current condition or ongoing movement.
On a real instruction, connect the overview to a route view and a located detail, using the same IDs in the photographs and record. Use the extension learning case to practise deciding whether two sets of numbers demonstrate change.
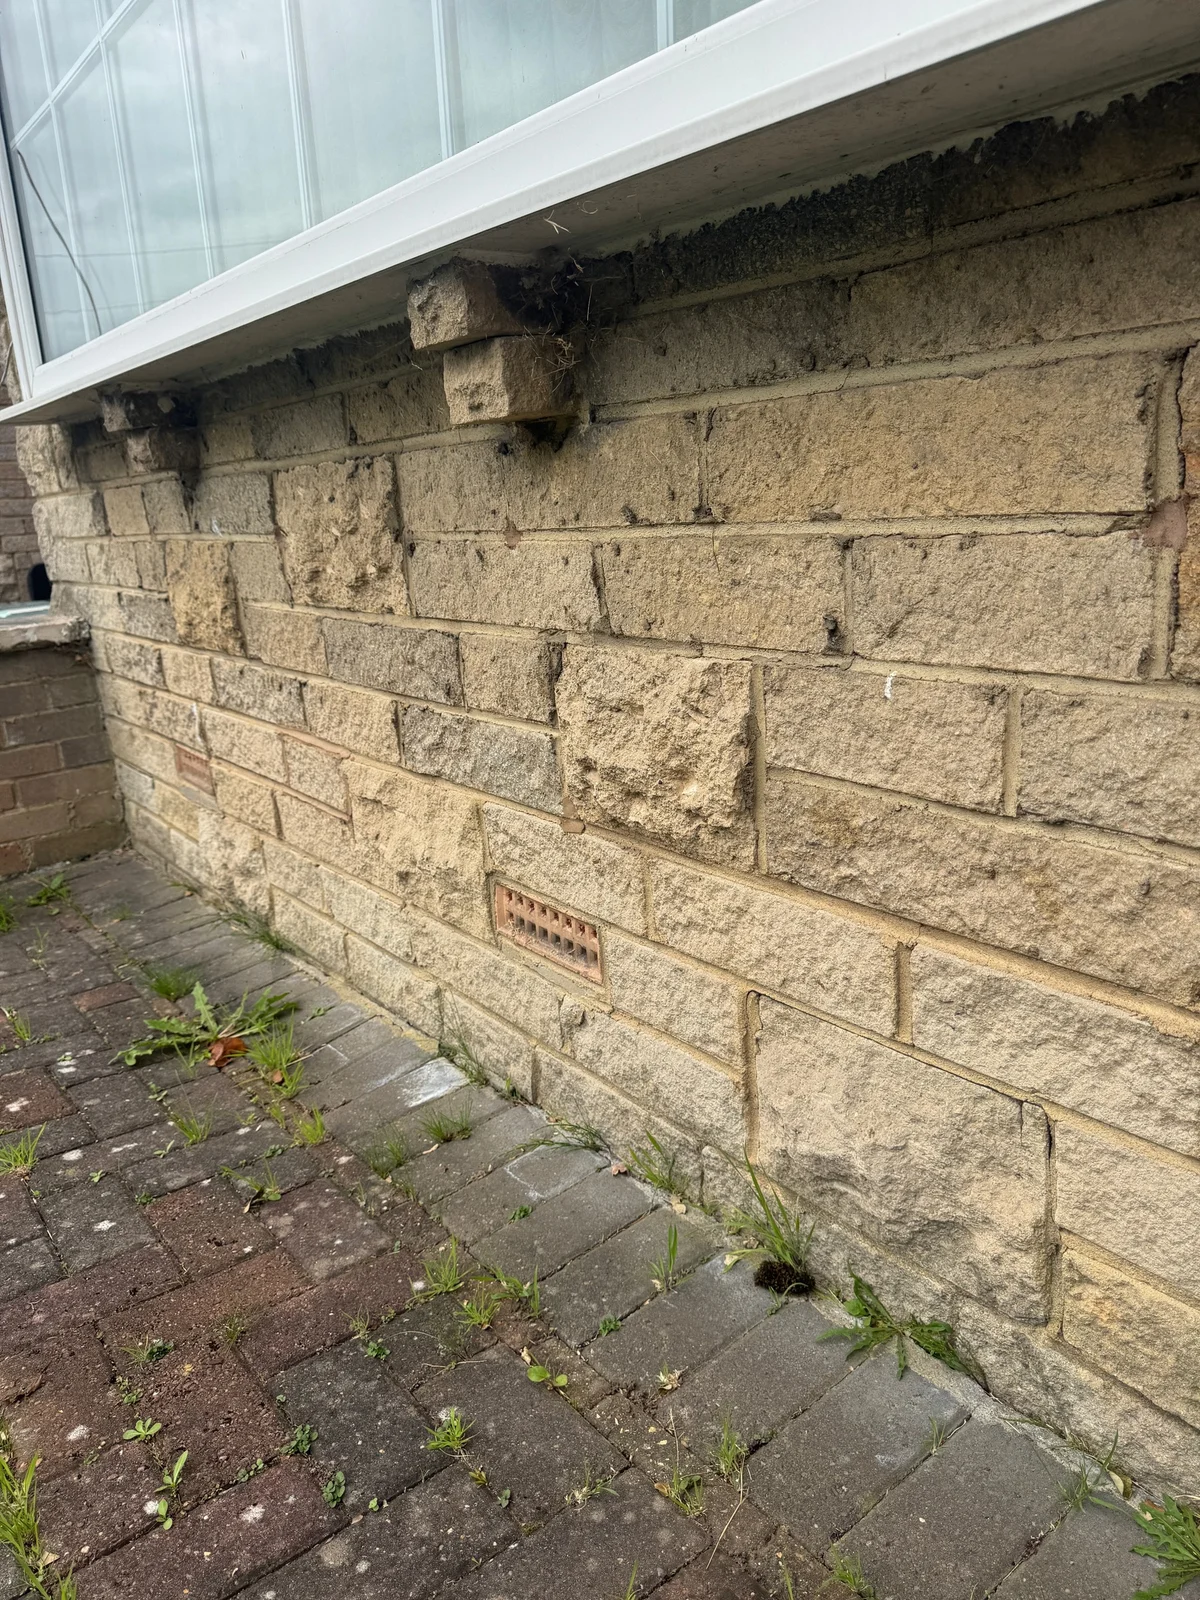
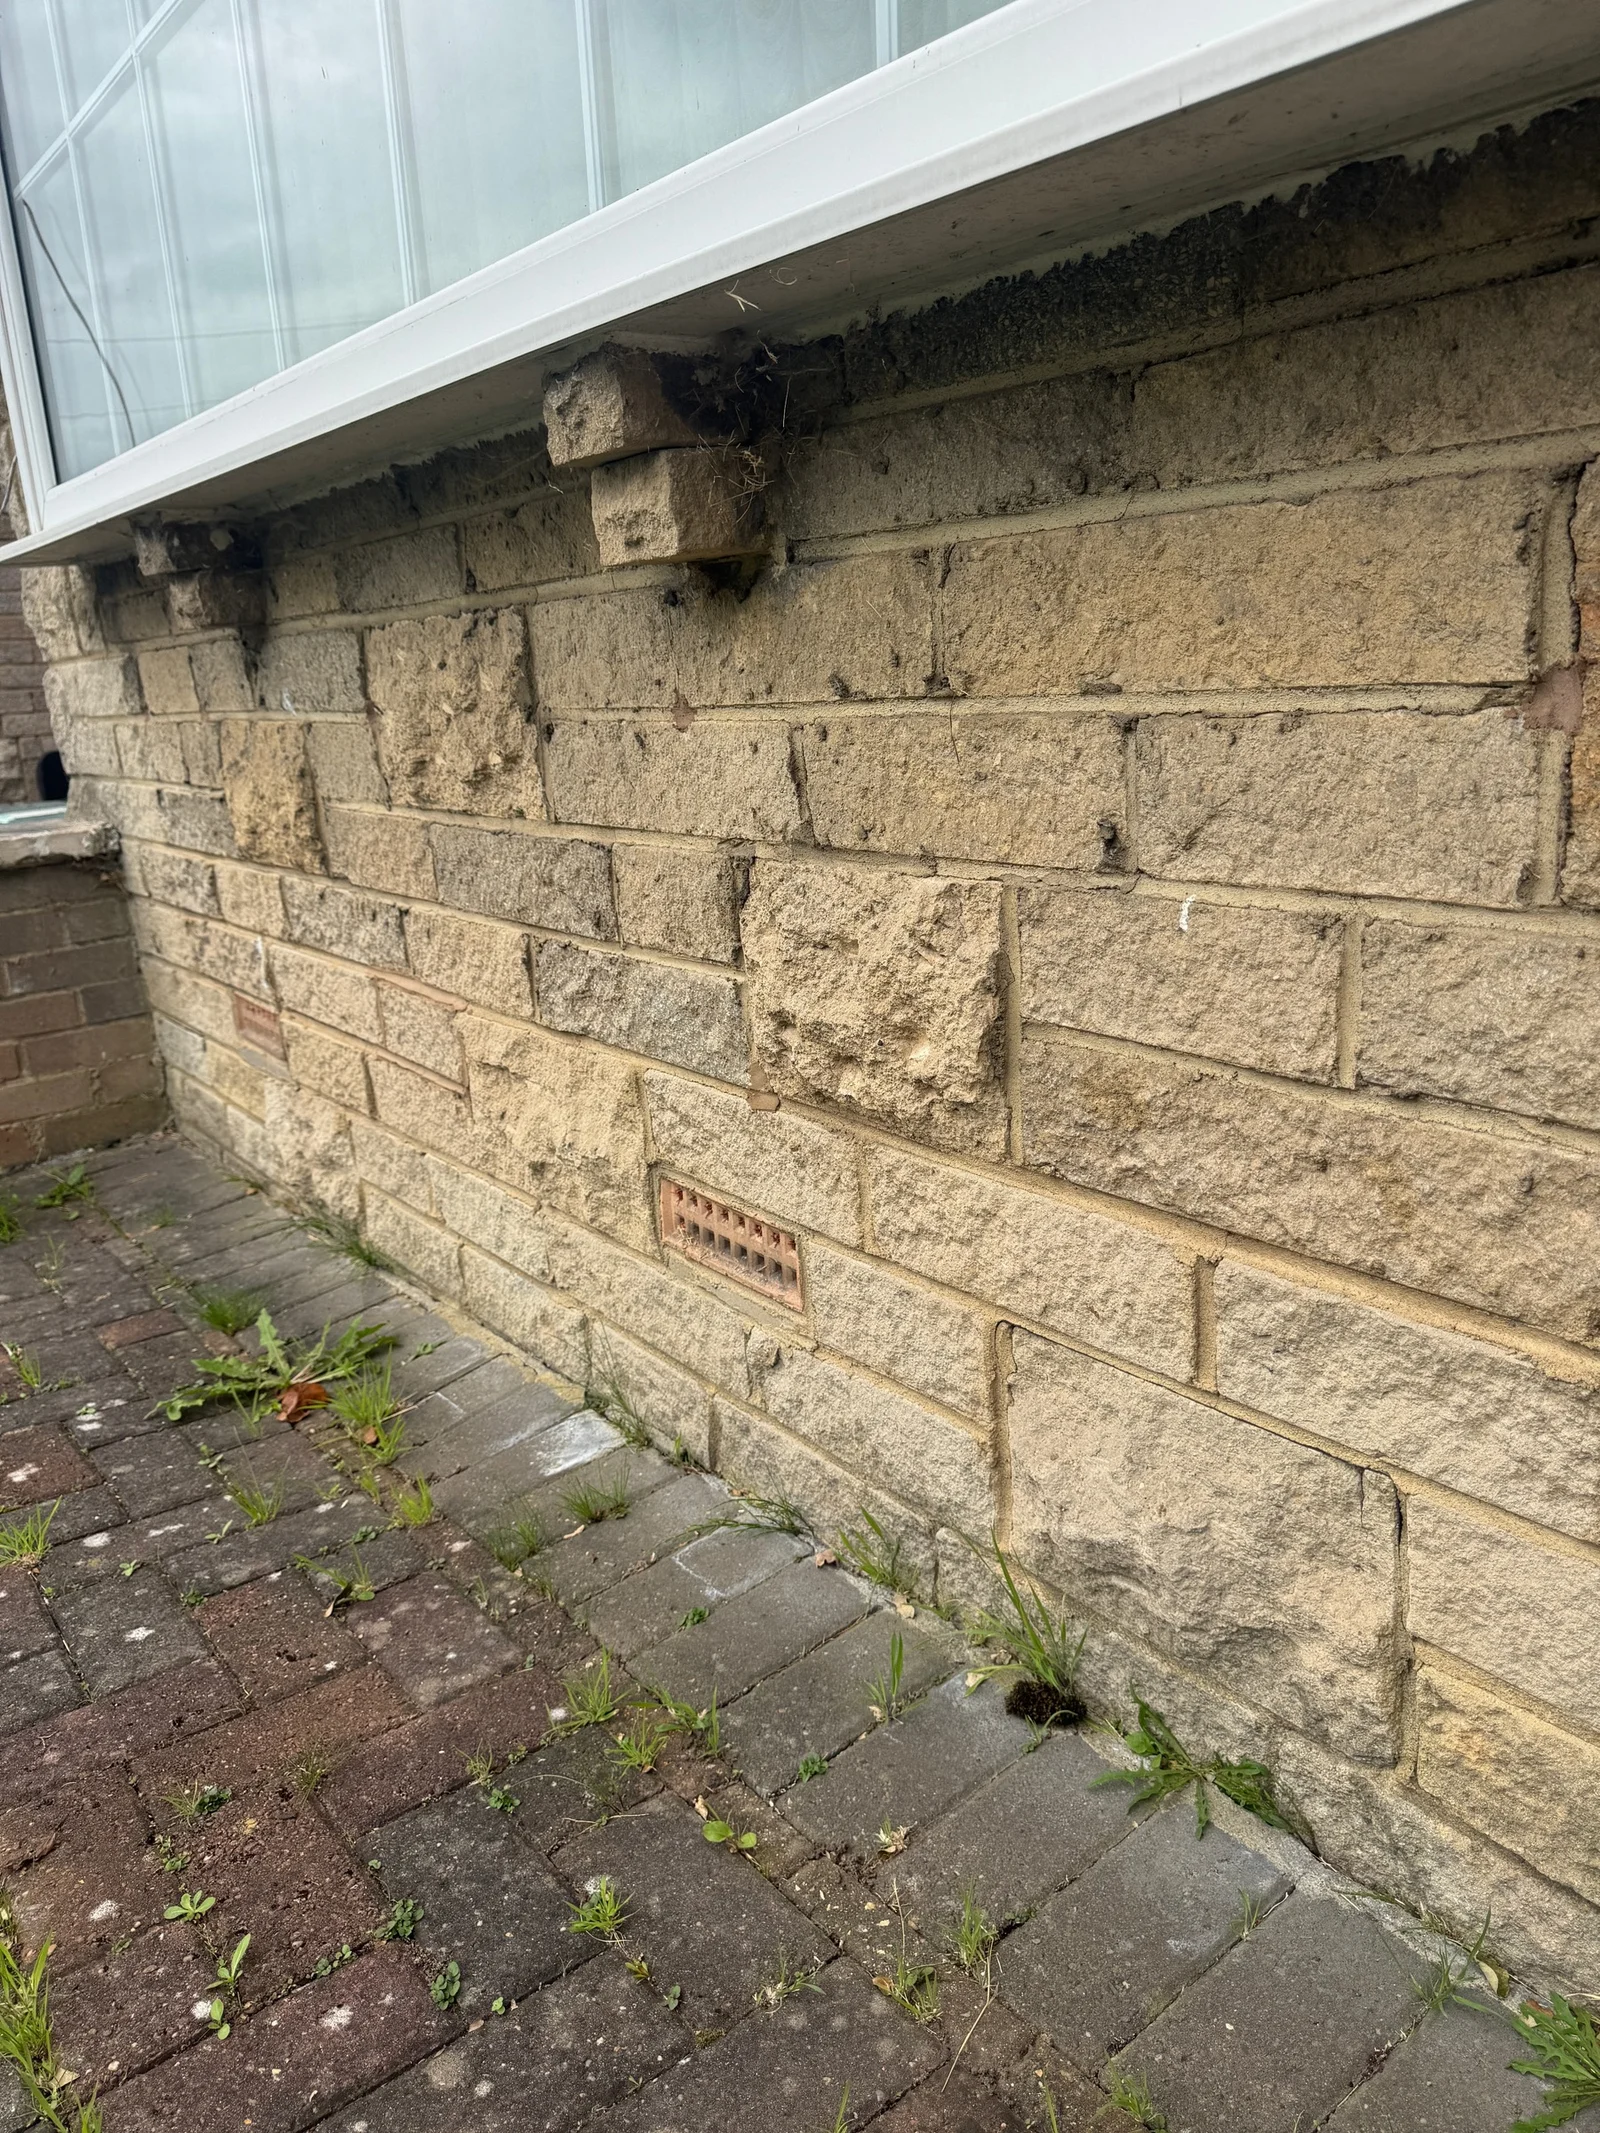
Use the sill and masonry courses to locate the cracking, then add an overview and a suitable scale on the actual visit. No crack width or evidence of continuing movement is supplied by this image.
Survey archive photograph · View larger image
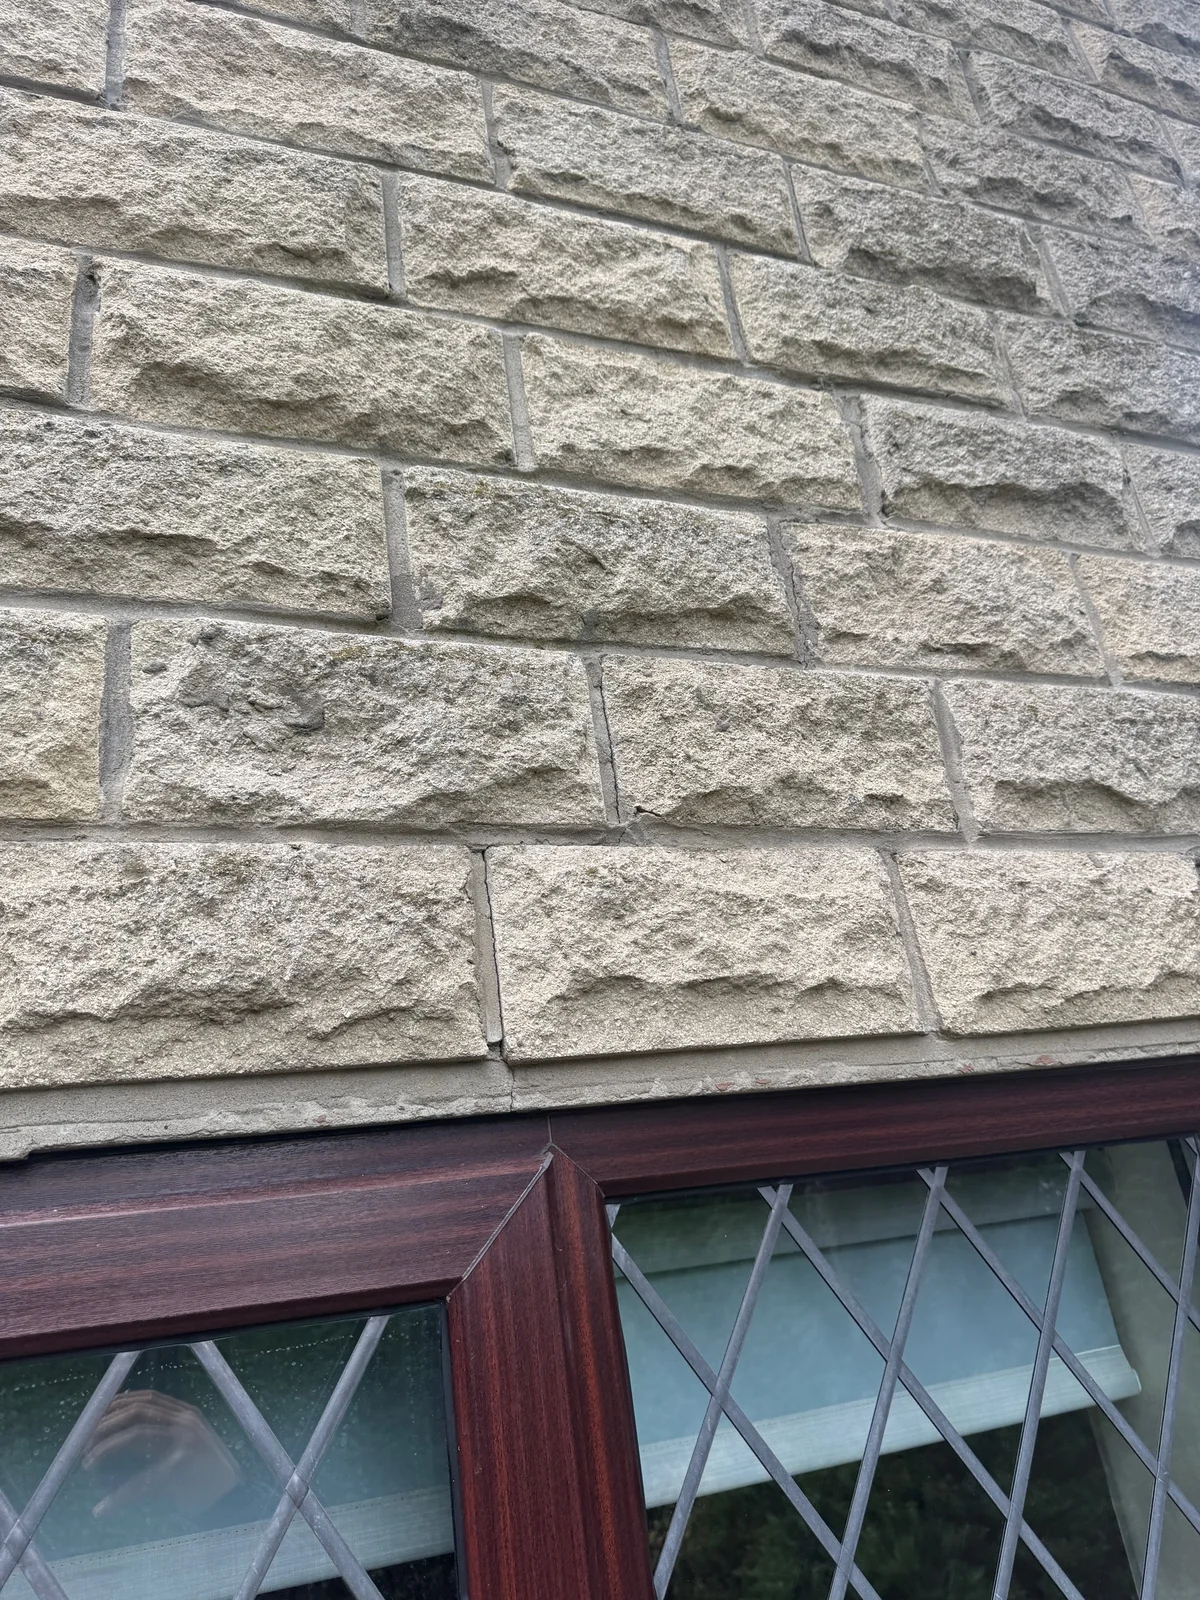
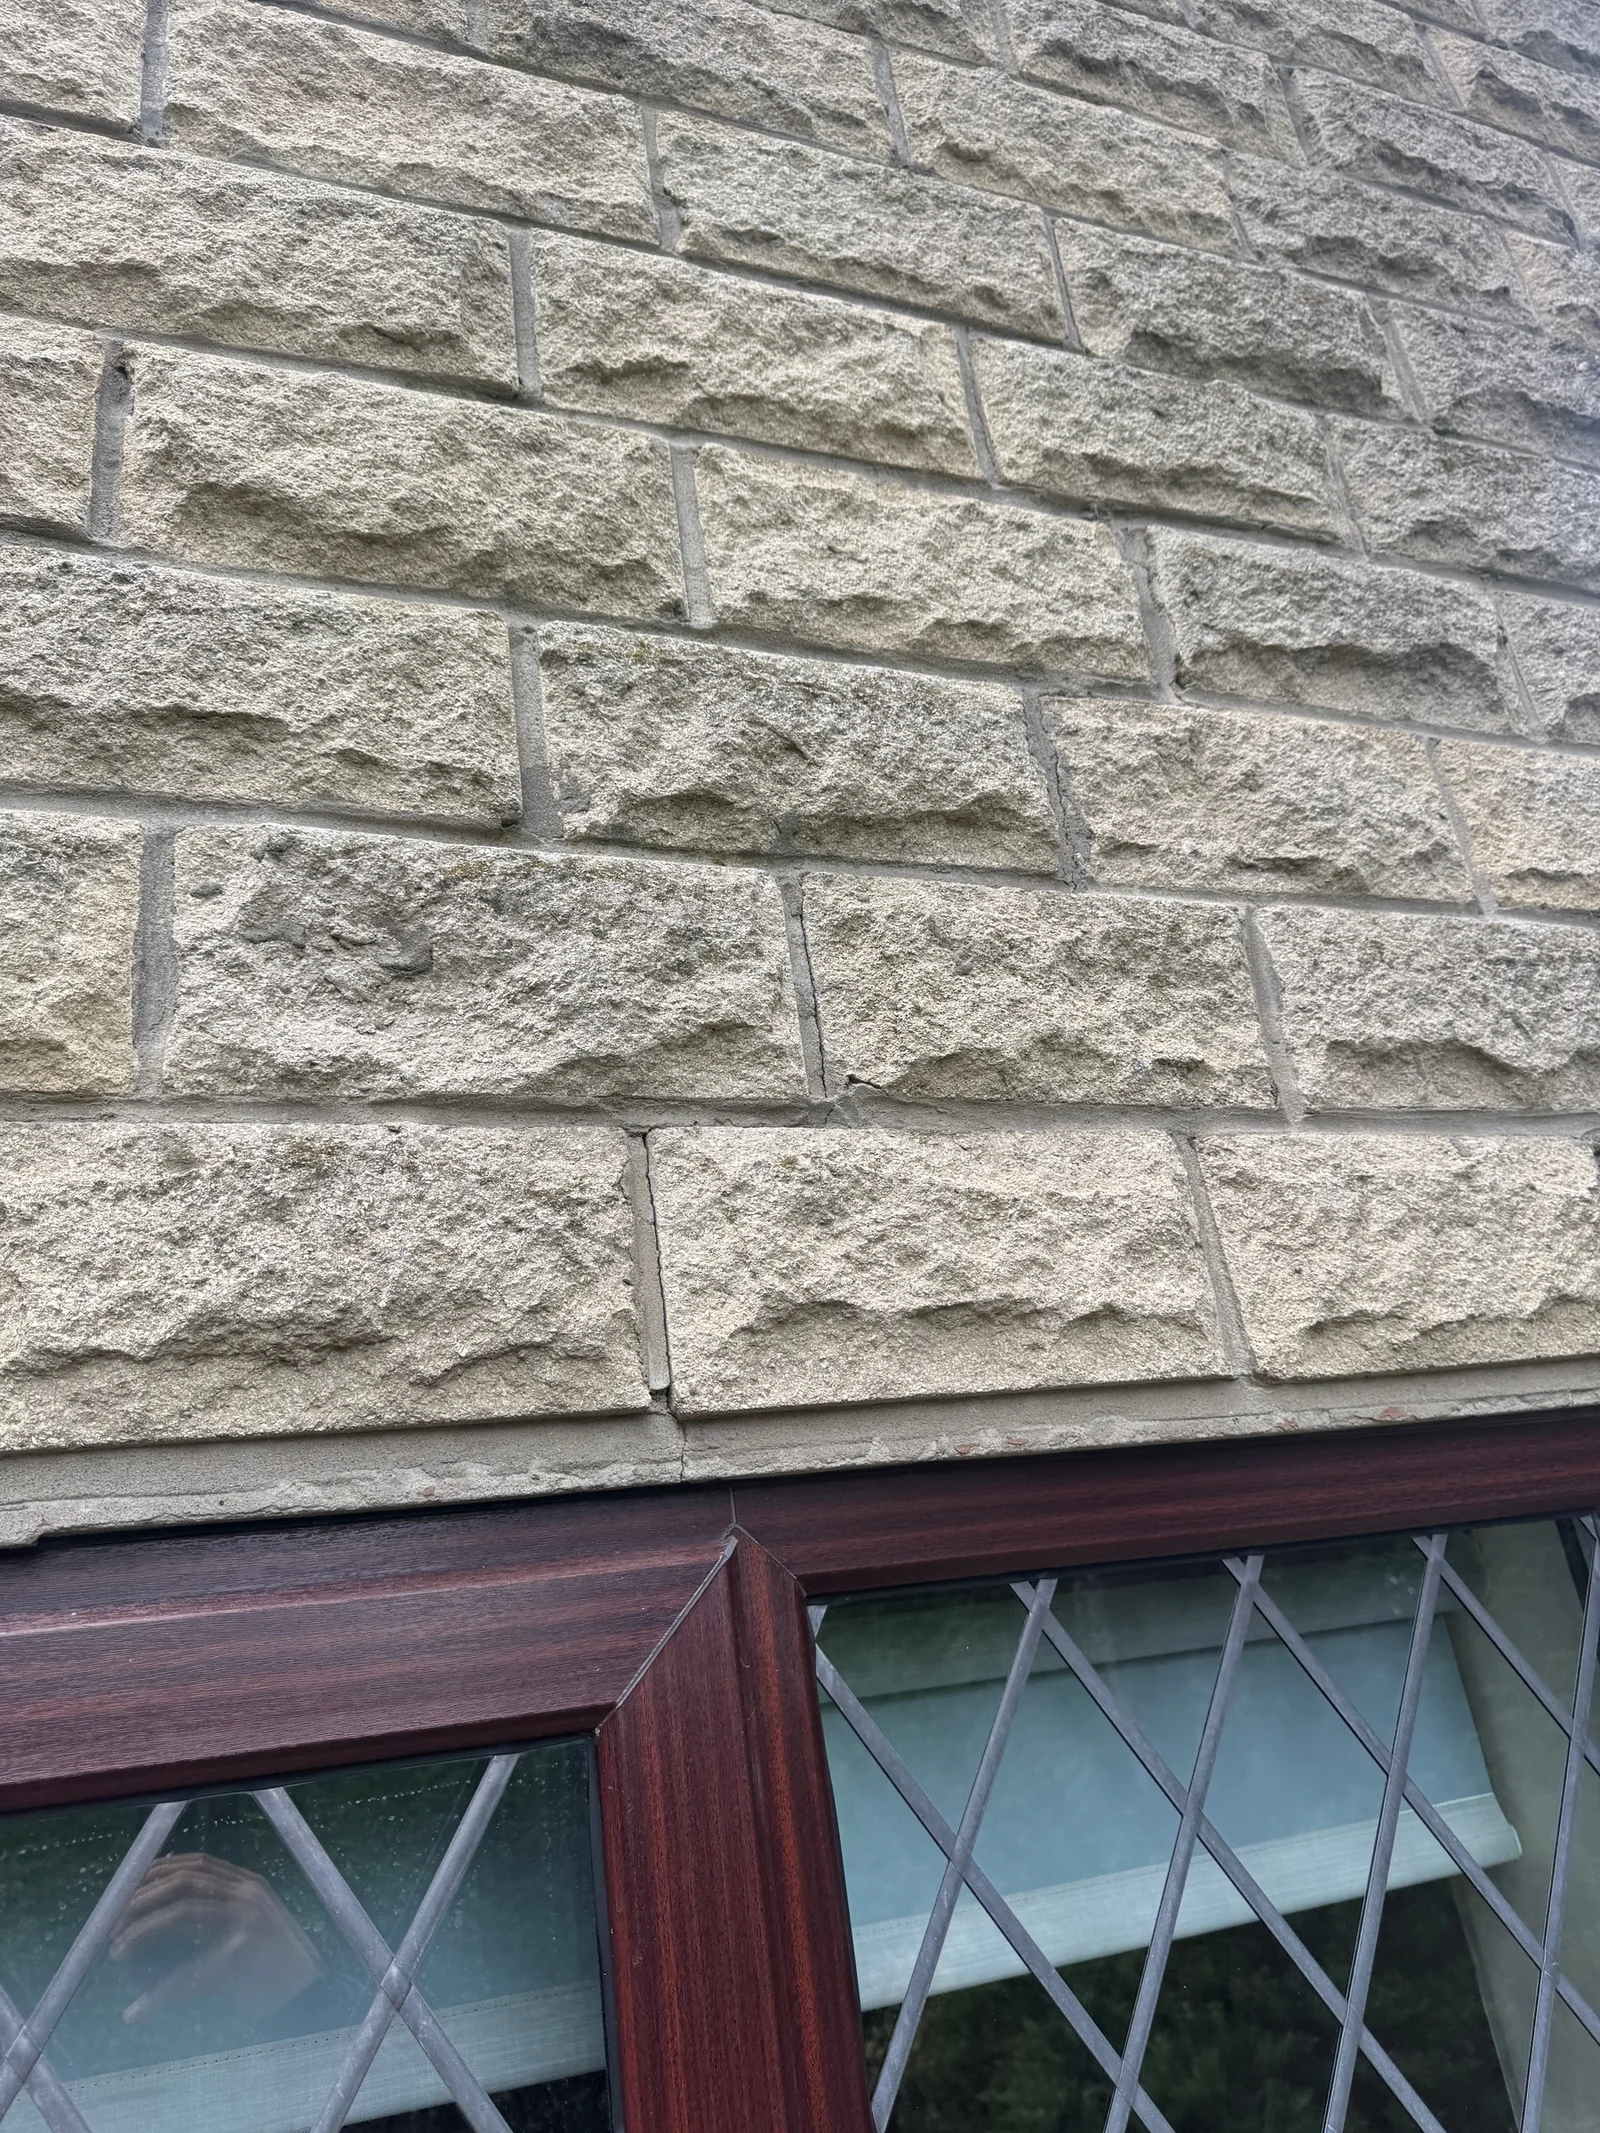
The crack passes through the window-head detail into the masonry above. Its position and extent need assessing alongside the opening support and other movement evidence.
Survey archive photograph · View larger image
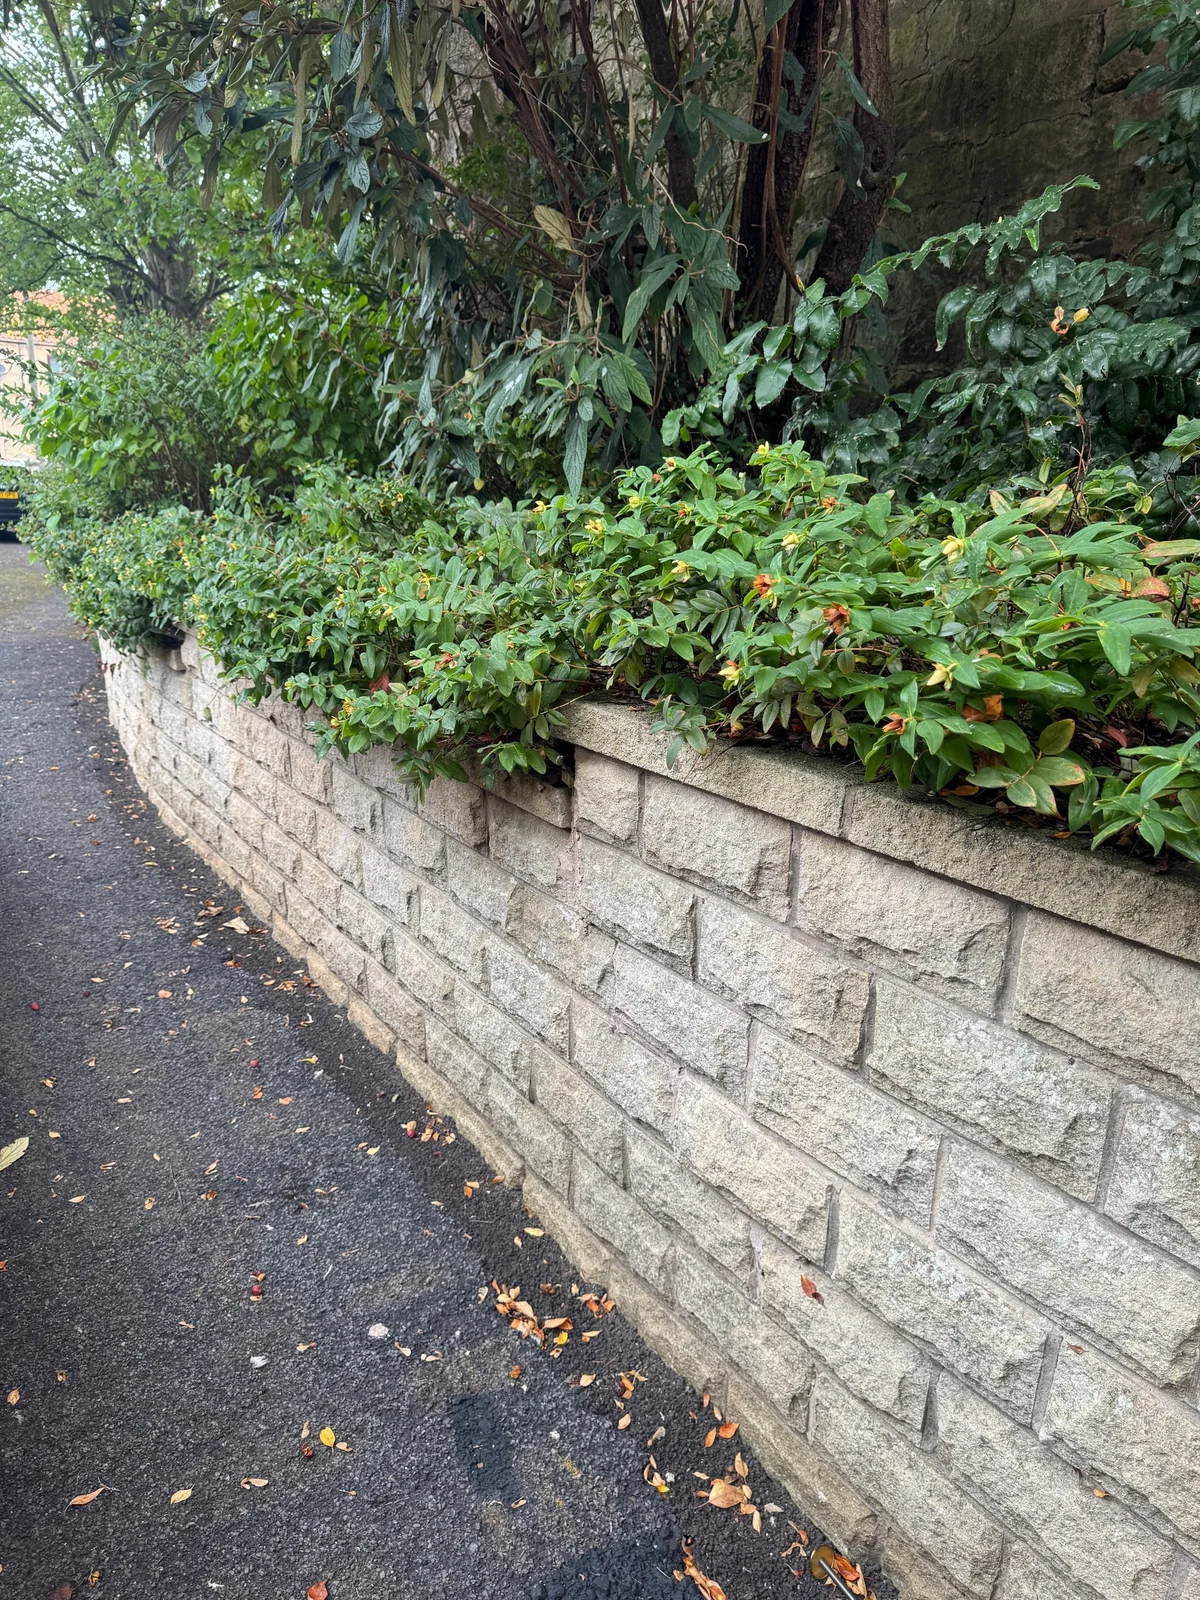
Open joints and cracking are visible in the retaining wall. The ground behind it, drainage, restraint and wall condition form part of understanding the movement.
Survey archive photograph · View larger image
Read the evidence
These are separate properties. Keep the opening or wall context with each crack record; the photographs do not establish subsidence, current movement or a shared cause.
Keep two measurement records
Crack record: point ID, date/time, method, scale/unit, operator, width, displacement direction, conditions and repeat checks. Explain whether a repeat reading uses the same edges and location.
Level record: attach the competent monitoring specification and raw survey file. Record benchmark/control IDs, point descriptions, instrument/method, checks, adjustment information, units and sign convention. Distinguish a measured elevation, an elevation difference and a change since baseline. Mark a disturbed, replaced or uncertain point explicitly.
For a level record expressed in metres, calculate: change in millimetres = (current level − baseline level) × 1,000. Positive means higher relative to the stated datum. This is arithmetic and a stated convention, not a structural assessment. Use the project’s convention where different and label it consistently.
Commission monitoring around a decision
Complete the brief before collecting a series:
- What change question will this method answer, and what will remain unmeasured?
- Which points and reference network answer that question? Who verifies their suitability?
- What uncertainty is required, how will it be evaluated and what checks can invalidate a visit?
- Who selects timing and duration in relation to the suspected mechanism and decision deadline?
- Which project-specific triggers require which action, by whom and how quickly?
- Who reviews the data, communicates findings and authorises completion or a revised scheme?
Leave unspecified technical parameters marked not yet specified and resolve them with the responsible professional. Do not fill the gaps with the example numbers in the learning case. NPL’s uncertainty principles inform these questions; they do not supply a building-monitoring specification.
Review a result before using it
Check identity and comparability first, then arithmetic and interpretation. A difference can be correctly calculated from observations that are unsuitable for proving movement. Retain all campaigns, including failed or rejected ones, with the reason for exclusion. Do not label a comparison valid merely because its values look plausible.
Set out observations, leading explanation, alternatives, consequence and the next action. Link every significant statement to evidence IDs or a technical source. Keep the monitoring result separate from a conclusion about stability or repair readiness.
Close the loop
Record who acted, what the follow-up found and what remains unresolved. Retain private records in the job folder. Promote a de-identified lesson only after checking it against the evidence. Keep the record proportionate: retain the information needed to relocate the finding, compare observations and make the next decision.