Photograph discipline: four shots per defect, and the limitation photograph you will need later
The photograph that matters most is the one of what you could not inspect. A site routine for defects, readings, services and limitations that makes the report defensible.
- Chapter
- 02 — What you record
- Entry
- 02.02
- Updated
- 12 October 2026
- Reading time
- 7 min
- Sections
- 06
- Status
- Published · checked at date shown
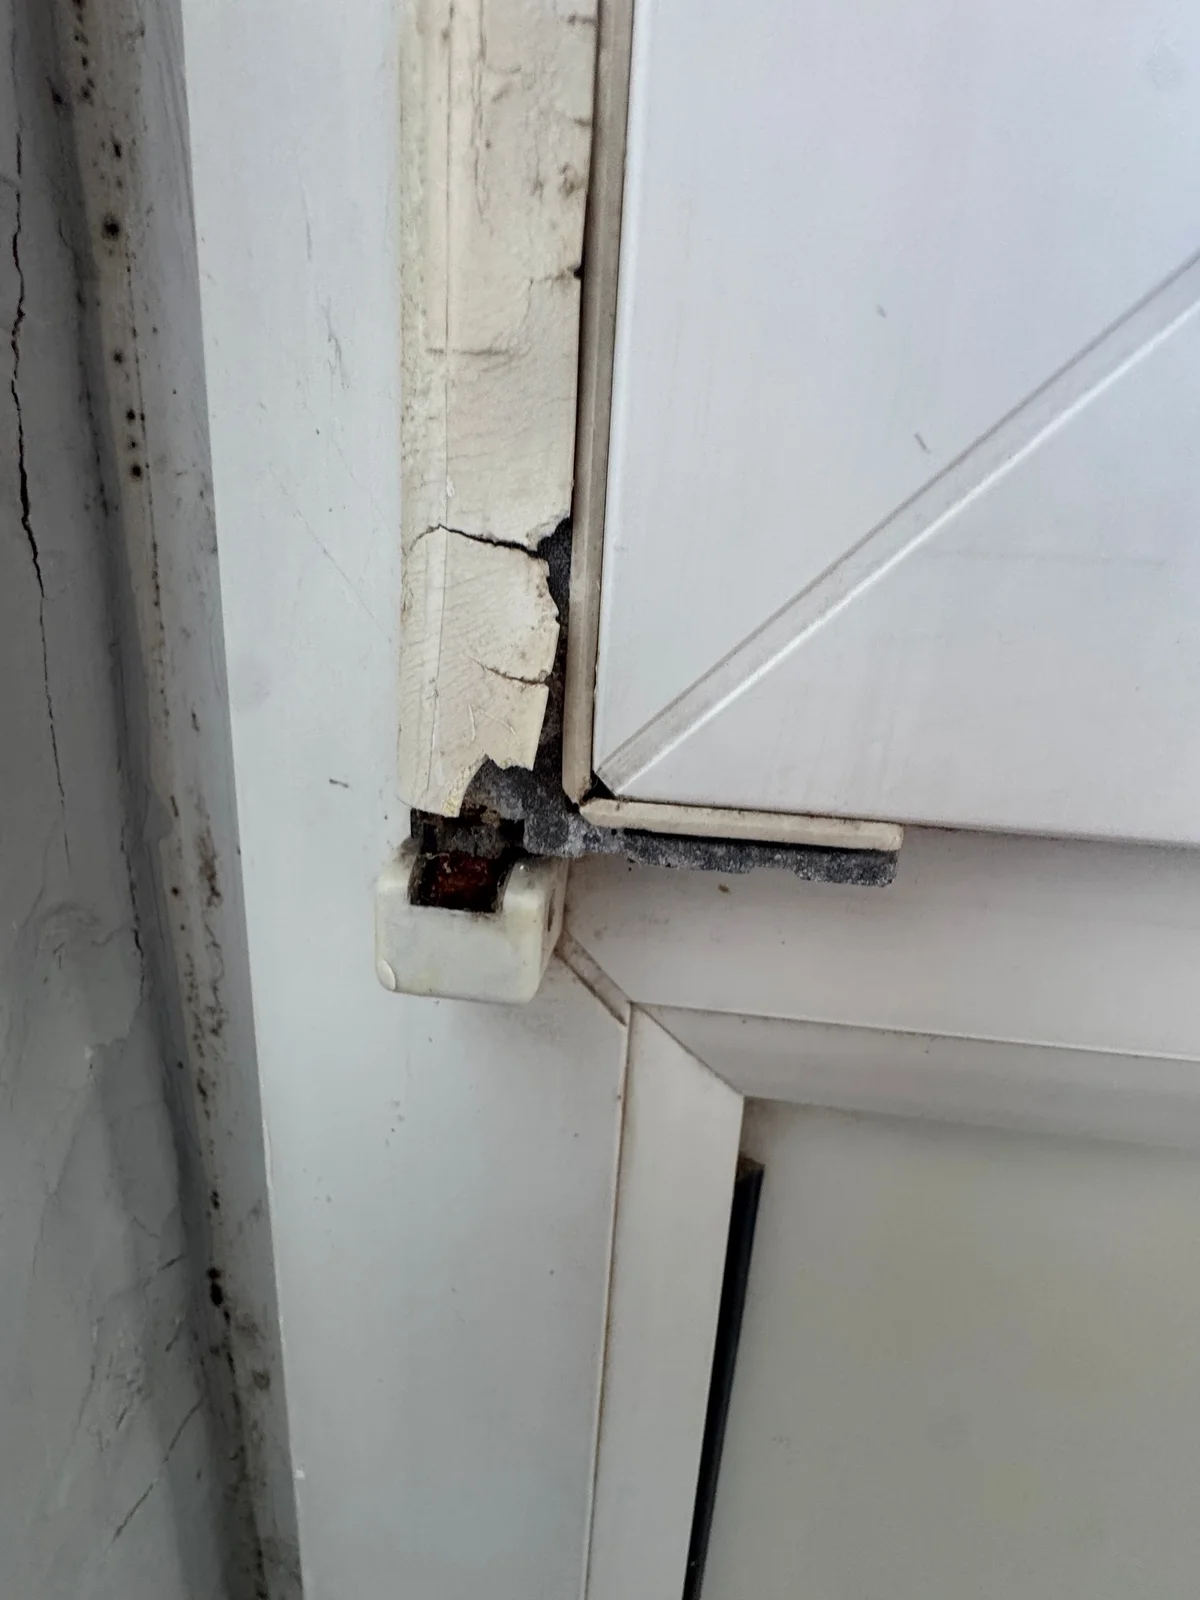 On site · 01
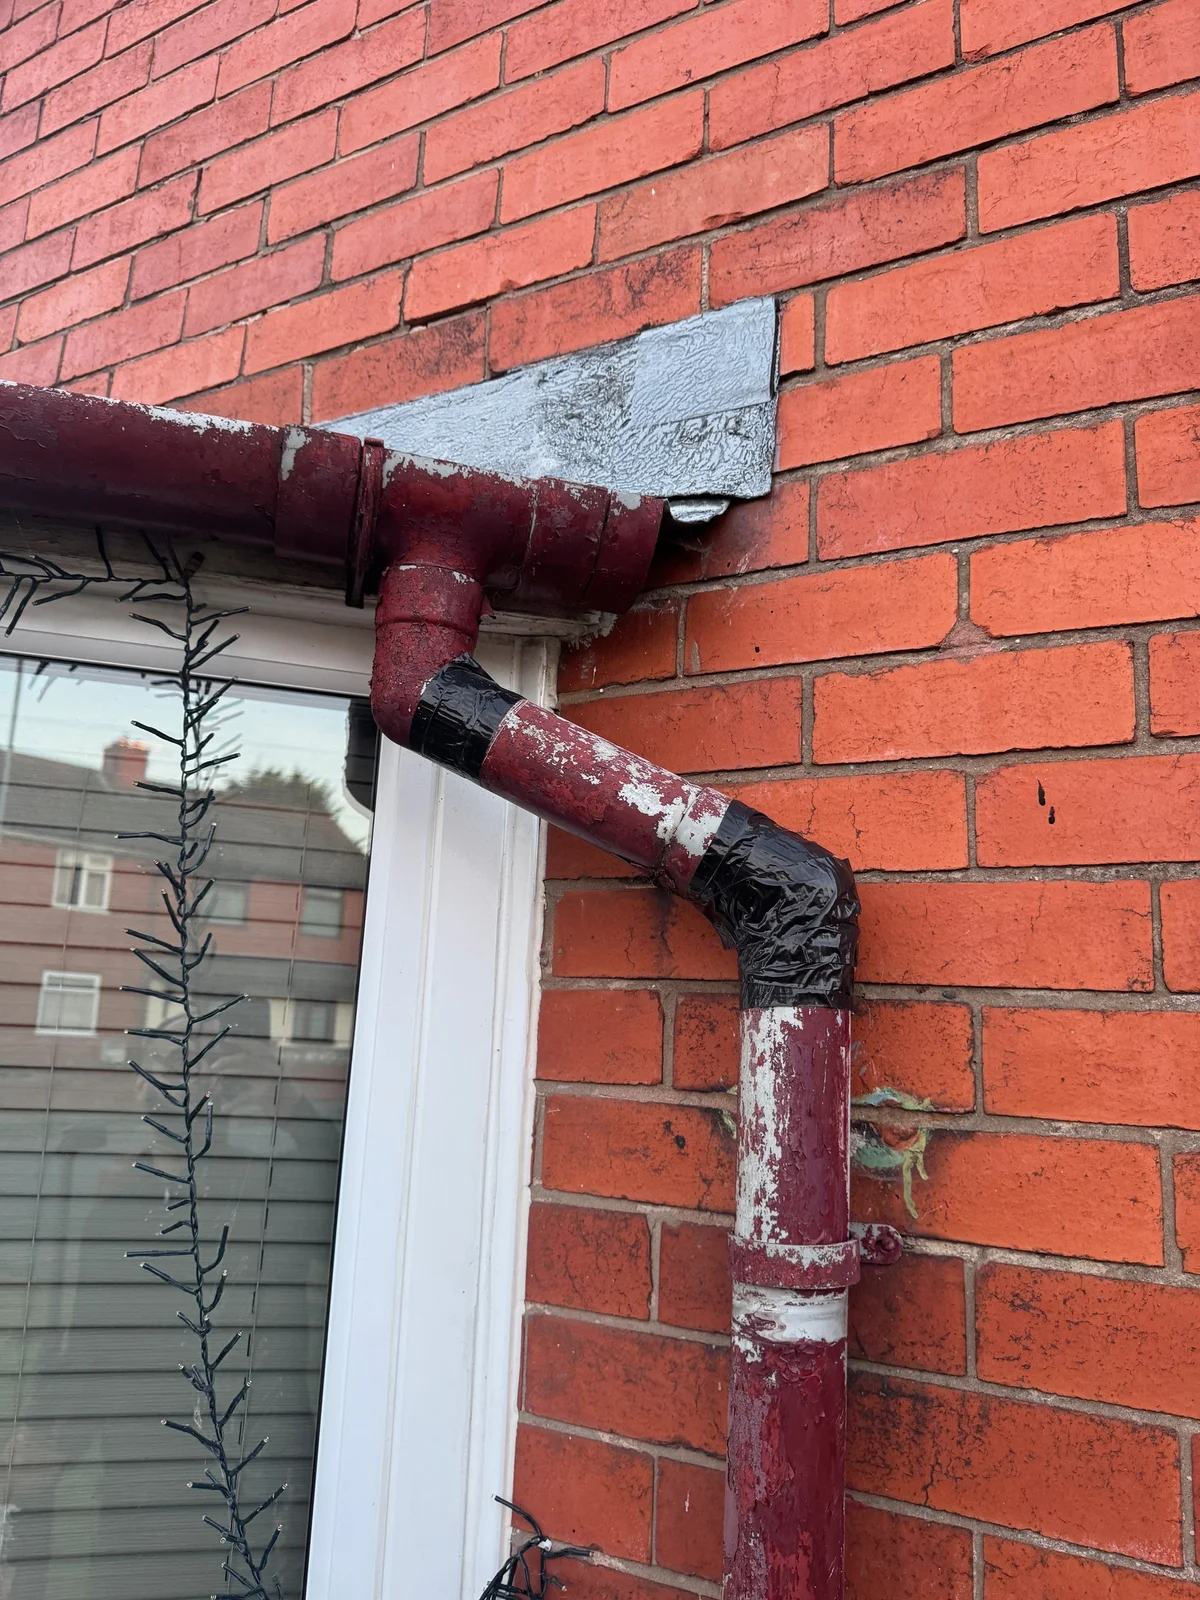 On site · 02
The photograph that matters most is the one you did not think to take. Not the crack, since everyone photographs the crack, but the fitted carpet over the floor you could not see, the wardrobe against the wall you could not reach, the stored goods that stopped you crossing the loft. When a defect emerges after completion, the question is rarely “did the surveyor see it” and nearly always “could the surveyor have seen it”. The limitation photograph answers that in a way no sentence can. This chapter is about taking photographs on site so the report is defensible, and it applies whatever camera you use.
What a photograph records
A photograph records a surface at a moment, from one position, under one light. It does not record moisture, temperature, movement over time or anything behind a finish. Everything useful a photograph does in a survey report comes from context: where it was taken, what is beside it for scale, and what sequence it belongs to.
Three things distort it:
- Distance and zoom. A detail shot without a mid shot has no location. A detail shot taken on digital zoom has had its fine texture invented by software. Two steps closer beats zoom every time.
- Processing. HDR lifts shadows and can flatten the relief that makes a hairline crack visible. Flash does the same and adds glare. Compression smooths texture. None of this is a reason to switch HDR off, since it rescues more frames than it ruins, but it is a reason not to trust a photograph to show a crack you did not also measure.
- Framing. A tilted horizon makes a level floor look sloped and a leaning wall look plumb. A wide lens close to a bay makes it bulge. Square-on, level, filling the frame is the neutral position.
Where it misleads
The orphan detail. A close-up of a defect that could be anywhere. Without the establishing and locating shots in the same numbered sequence it cannot be tied to an elevation, and in a dispute it will be said to be a different wall.
The unscaled crack. A crack with nothing in the frame for size is whatever width the reader wants. A gauge card held against it fixes the width at the date of inspection, and nothing else does.
The desk annotation. Arrows and circles added a week later from memory land on the wrong brick more often than anyone admits. Annotate on site, standing in front of it, and keep the annotated copy as a separate file from the original.
The meter display. A photograph of a reading on a screen shows a number. Photograph the instrument in position on the wall with enough surroundings to locate it, and write the number down.
The missing limitation. The locked door, the carpet, the boarded loft, the stored goods: each is a photograph. Without it, “not inspected because” is an assertion. With it, the reason is visible.
The clean-up. A photograph edited to look clearer is a photograph that has been altered, and the alteration is what an opposing expert will dwell on. Originals stay unedited.
Using it so the result holds
Four shots per defect. Establishing: which elevation or room, wide enough to recognise. Locating: where on that elevation, with a reference feature in frame, the bay, the downpipe, the door. Detail: the defect itself, filling the frame. Scale: the same detail with a gauge card, tape or coin against it. For a small defect the detail and scale shots merge into one; for anything you expect to rate 3, take all four.
Annotate on site. An arrow, a circle, a number. Chalk or a strip of masking tape with a marker works for numbering positions outside; the phone’s markup tool works for the rest. Do it before you move to the next element.
Name by element. Use <job>-<element code>-<seq>, for example 0412-E3-07: job 0412, element E3, seventh photograph. The RICS Home Survey element codes, D1 to G3, give the site sequence and the report sequence the same spine, so the photographs fall into the report in the order the reader meets them. Rename before you leave the property or the same evening. A week later the sequence is gone.
Photograph the limitation. Every room you could not enter, every floor under a fitted covering, every wall behind furniture, the loft hatch and whatever stopped you beyond it, the flat roof you could only see from the garden. Pair each with a note of why. Under the RICS Home Survey Standard, Level 2 is visual and non-invasive and Level 3 goes further only where safe and reasonable; lifting fitted carpets, moving stored goods and opening up are outside standard scope and need an agreed instruction and the owner’s written consent. The limitation photograph is how you show the scope was honoured rather than skipped.
Photograph every reading. Moisture meter in position, tell-tale with the date in shot, laser measure on its target, crack gauge against the crack.
The services set. Meters and their labels, boiler data plate, consumer unit with the cover on and never removed, flue terminal, stopcock, each drain cover you lifted with the chamber visible, air bricks, and the DPC line on each elevation. These take five minutes and answer half the queries a solicitor raises.
Technique. HDR on, grid on. Horizon level. Fill the frame. Two steps closer, not zoom. Headtorch in roof spaces, angled off the lens axis so the surface has texture. Wipe the lens; a smeared lens is the most common cause of a soft photograph. Shoot each elevation square-on and again from both corners, so a lean or a bulge can be read against the verticals.
Storage. Back up the same day. Two copies, in two places. Originals unedited; annotated versions as separate files. Retain for at least 6 years, the contractual limitation period, and ideally 15, the long-stop under section 14B of the Limitation Act 1980 for latent damage.
Kit
A current phone with 12 MP or more and HDR. A headtorch of at least 400 lumens, because flash is not a substitute in a roof space. A crack gauge card for scale. A 5 m tape for scale and for the occasional reveal or offset. A telescopic mirror for the back of a boiler, the top of a lintel and the far side of a soil pipe. Chalk, or masking tape and a marker, for numbering positions on site. Nothing on this list costs more than the phone, and the phone you already own.
Recording it in the report
Number the photographs. Cross-reference each to its element code and its condition rating, so the reader moves from rating to text to photograph without hunting.
The caption is the observation. The conclusion belongs in the element text, where the reasoning sits beside it. A caption that states a cause has converted evidence into opinion and removed the reader’s ability to check it.
Weak: “Photo 7: subsidence to front.”
Holds: “Photograph 0412-E3-07: front elevation, left of the bay, stepped cracking through bed joints, about 3 mm at the widest point against the gauge card. Located in 0412-E3-05 and 0412-E3-06.”
Weak: “Loft not accessible.”
Holds: “Photograph 0412-F1-02: roof space from the hatch. Boarded over the landing with stored goods beyond; insulation depth not measurable. Inspection was limited to the area visible from the hatch; see Limitations.”
Keep the parts separate in every entry: what was photographed, under what conditions, what pattern it shows, what you infer, and what should happen next. The photograph carries the first. The text carries the rest.
References
- RICS Home Survey Standard, RICS, 2019 (effective March 2021).
- Limitation Act 1980, section 14B (long-stop limitation period for latent damage).